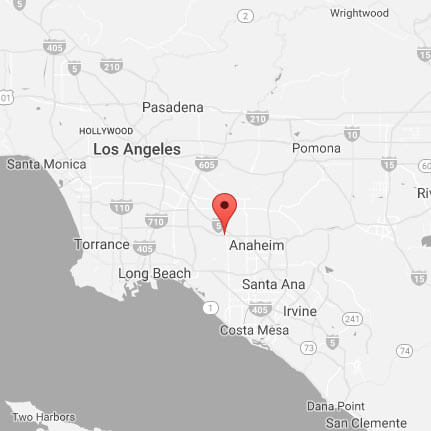
To add a full-width Google map with Snazzy styles to the footer of the Genesis Digital Pro theme we’ll need to:
- Prepare the Google map to fit in new section.
- Add a new section above the footer widgets.
- Adjust the CSS to sit the map nicely against the footer.
Getting the Google Map Ready
Google has amazing developer documentation on how to make maps and embed them into your site. This methodology is a bit of a shortcut but it’s working fine so far! The added bonuses here by using mapkit.io includes that you can make use of some Snazzy Map styles and the automatic gestures for mobile. Here are the steps to make your map:
- Get a Google Maps Javascript API Code credential from Google
Setup your map on mapkit.io/editorEditor’s note: This site no longer exists instead refer to Google’s documentation- Copy the code from your map to an html file with the scripts in the head and the rest of the code in the body. When complete, load this file to the root directory of your WordPress site.
Here’s an example of where place your map code from mapkit into an html file:
<!DOCTYPE html>
<html>
 <head>
 <title>Your Site Map</title>
 <meta name="viewport" content="initial-scale=1.0">
 <meta charset="utf-8">

<!-- Place scripts here in the head -->

</head>
<body>

<!-- Place the rest of the code here -->

</body>
</html>
Adding Elements Above the Footer Widgets
For the 2nd task we’ll use a modification this post on “How to Add Custom HTML Element Before Footer Widgets Area” in Genesis by Kaushik. The code there asks to you to Edit the functions.php file.
/* Remove the footer widget area */

remove_action( 'genesis_before_footer', 'genesis_footer_widget_areas' );

/* Add your custom element */

add_action( 'genesis_before_footer', 'yourcustomelement' );
function yourcustomelement(){
echo '/* Re Hook the footer widget area */ genesis_footer_widget_areas(); }
Add a Full-Width Google Map to the Footer On Just One Specific Page
/* Add the custom map section before the footer widgets on just the contact page */
remove_action( 'genesis_before_footer', 'genesis_footer_widget_areas' );
add_action( 'genesis_before_footer', 'mycustommap' );

function mycustommap() {
		// When the Page with a post_title of "Contact" is being displayed.
		if ( is_page( 'Contact' ) ) {
echo '<iframe style="width: 100%; height: 360px; margin-bottom: -11px;" src="//YOUR_DOMAIN_NAME.com/YOUR_MAP.html" width="300" height="360" frameborder="0" marginwidth="0" marginheight="0" scrolling="no"></iframe>'; };
/* Re Hook the footer widget area */
genesis_footer_widget_areas(); }
Step 3 is taken care of with the “margin-bottom: -11px;” inline style in the iframe and so that’s it.
How did it go? How would you change this tutorial?

